
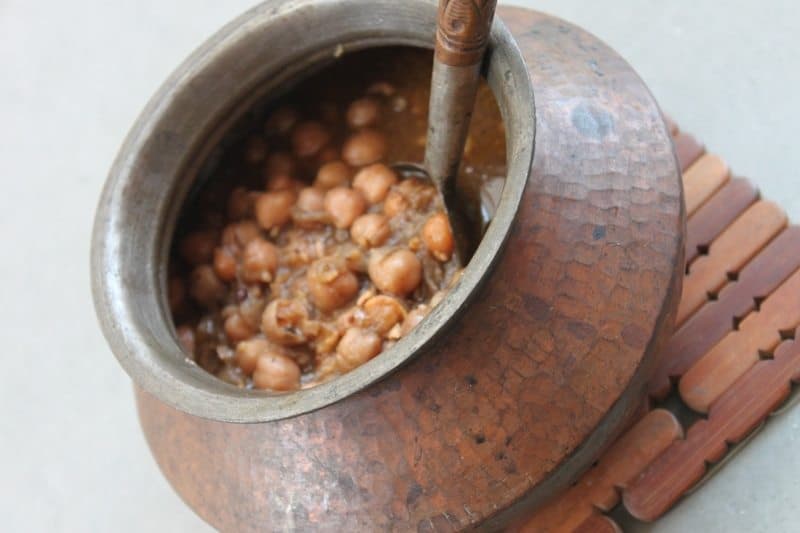
Pindi Chana Recipe: Among the many many, delicious vegetarian dishes, the Pindi Chana holds a special place 🙂 Whether you like it runny or on the drier side, this version of making the chickpea has its own very typical, robust flavors! Next time around you have guests over…or for the weekend lunches…give this recipe a try!

I will go stepwise…making it so simple that ANYONE…and I mean anyone, can follow the instructions and nail this dish 🙂

Ingredients :
- I cup Kabuli Chana or chickpeas (soaked overnight ) [If you were unable to soak chickpeas beforehand, I have a tip for you ]
- 1 Teabag, Plain
- 1-inch ginger julienne
- 3 large onions finely sliced
- 1 large tomato chopped
- 3-4 cloves
- 1 stick cinnamon (smallish is enough)
- 1 teaspoon unground black pepper
- 1 tablespoon dried coriander seeds/husk (if you are using a powdered version, one teaspoon is enough)
- Red Chili Powder 1/2 teaspoon
- Cumin Seeds 1 tablespoon
- Salt to Taste
Method :
Prepare the chana masala first. If you wish to use store bought chana masala, skip this step. In my experience preparing the masala at home, gives a more robust and controlled flavor. In a skillet add all the spices except salt and red chili powder. Let the spices roast on medium heat for a couple of minutes, till they begin to pop and you can smell their fragrance getting rendered. Keep stirring the spices from time to time, to avoid burning them. I then grind these spices in a mortar and pestle. Feel free to grind them in the grinder, I prefer a coarse grind, so I use the mortar and pestle.

In a large pressure cooker, add the soaked chana/ chickpeas with 1 teabag. Add half of the spice mix we just prepared. I you are using store-bought Chana masala add 1 teaspoon .Add half of the desired salt. Put 4 cups of water and close the lid. Let 5-6 whistles come..or as long as it takes for the chickpeas to 90% cook through.
Tip : If for some reason you were unable to soak the chickpeas,follow the steps above, then put the chickpeas on LOW flame, with the pressure cooker lid on. Let 2 whistles come on LOW flame. turn off the stove. Let the pressure cooker’s steam escape on its own. When the chickpeas will come at room temperature or so, the lip will open easily. At this point put them again on the flame and allow 3-4 whistles to come on high flame.

Meanwhile, in a skillet, add oil and once it heats up, add the ginger and onion. Allow it to fry on medium flame. Tumble in the rest of the spice mix, excluding red chili powder and salt. Let the spices render their oils and flavor.


Once you see the onions begin to brown, add the pureed tomato, salt, and red chili. Actually putting tomato is optional, but I like the way it plays in the dish. Let the gravy cook. The gravy is looking red right now, don’t worry.


While the gravy is almost 70% cooked, by this time open the pressure cooker. You will see the chickpeas will get the gorgeous brown color. Take the tea bag out. You will not be able to taste or smell the tea in the finished dish. I promise 🙂 This is just for color!


Now add the semi-cooked gravy to the pressure cooker with the chick peas. Put the lid on and let it cook on high flame …say 2-3 whistles. At this point adjust the water in the dish to your liking.

Once the dish is ready, just grab a wooden/ other spatula and mash 1/4 of the chickpeas in the gravy. This will thicken the gravy and give it that awesome texture 🙂
Whether you like your gravy a bit runny with rice, or soft spongy kulchas…or if you like it dry with flatbread and sourdough Bhaturas…take your pick 🙂 You and your guests will L.O.V.E this dish 🙂